Just in time for Christmas.... oh wait, isn't there another Holiday or 2 between now and then? Ah who cares about those holidays, we all know the only holiday that counts is the one where people spend the most money. At least that's what stores seem to think. Honestly I love Halloween and Thanksgiving, but for my latest project in my Renderman class (VSFX 319), we had to model snow globes. While one girl in class actually did do a Halloween themed snow globe, I couldn't help but equate snow globe with Christmas. So I decided to model Santa's Workshop.
The assignment was specifically to learn IBL (Image Based Lighting), which is a way of taking a very specific image (HDRI) of an environment and putting it in a scene, allowing the computer to calculate the lighting of the scene based on the values in the image. It's kind of like taking an environment and putting it into your scene. Sounds magical, but it is really not going to look right. Imagine taking motion capture data and just leaving the raw data on the character and displaying that in a movie... it doesn't look good, trust me. Animators need to adjust and tweak and fix the raw data into something that looks good and suitable for the character. Just like that, I have to take this IBL and tweak it, add lights, adjust values, etc. to make the lighting look realistic like the object belongs in the scene.
We also had to use a specific Global Illumination technique, and actually got to play with 2 methods of it. One uses Point Clouds to calculate illumination and occlusion, while the other uses ray tracing. The point cloud based method is faster, stores the data to speed up processing later on, and developed by Pixar, but prone to inaccuracies. The raytracing method is longer, but more accurate. I used a hybrid technique where I raytraced, and then stored the data to speed up the processing. It took about an hour and a bit to render these, but it was surprising to see some students with render times ranging from 20 minutes to over 4 hours!
I haven't quite dialed in the lighting all the way yet, and I am still working on the camera focal length (so expect more updates on this one later), but for now, I am relatively pleased with the results of my work, but I'm not going to leave it there. For now, though, enjoy these three images. Ho ho ho.
Showing posts with label Depth of Field. Show all posts
Thursday, October 17, 2013
Snow globes
Labels:
3D,
Depth of Field,
lighting,
Maya,
nature,
photographs,
Pixar,
reflection,
refraction,
Renderman,
ribs,
SCAD,
textures,
VSFX
Thursday, October 3, 2013
Readressing early work
I am interested in trying to re-work some of my earlier projects. I was thinking it would be a great idea to remodel, texture, light, and render something I did toward the beginning of my time SCAD, and compare the two images to see how far I've come. I haven't had the chance to do this yet, and I still have a class or two that I need to take to really make this look great, but I think it will make a great study.
The two images I am thinking about are from my introduction to 3D, "Forms, Space, and Lighting". Right now all I can do is look at what I've done and think about what I want to do with it. I think it may be a great segue into developing some more portfolio pieces on my own.
So here are my earlier works, an environment based on the character Harry Dresden, from the series of books The Dresden Files, by Jim Butcher. For those unfamiliar with Dresden, he is an openly practicing wizard in modern day Chicago, who works as a private investigator. It is adult, smart, well thought out, and entertaining. Check out the books, and enjoy the images of his sub-basement lab.
The two images I am thinking about are from my introduction to 3D, "Forms, Space, and Lighting". Right now all I can do is look at what I've done and think about what I want to do with it. I think it may be a great segue into developing some more portfolio pieces on my own.
So here are my earlier works, an environment based on the character Harry Dresden, from the series of books The Dresden Files, by Jim Butcher. For those unfamiliar with Dresden, he is an openly practicing wizard in modern day Chicago, who works as a private investigator. It is adult, smart, well thought out, and entertaining. Check out the books, and enjoy the images of his sub-basement lab.
Labels:
3D,
character,
compositing,
Depth of Field,
lighting,
Maya,
SCAD,
textures
Monday, May 27, 2013
Photography Final
So today, I delivered a presentation for my Photography final. In short, my assignment was to research an existing Photographer, and as I mentioned n a previous post, I decided to research Michael Eastman. Specifically, I decided to try to capture the feel of 2 of his projects, Urban Luminosity and Vanishing America. My project is called City and Country, and is meant to show a contrast between images of the city life and country environment.
For the City side of my project, I took pictures around Atlanta, including the beautiful Hyatt Regency hotel, and outside The Loft. In all, I took about 160 images of this set, but for the final project, I had to choose 5. I already posted several favorites that didn't make it into the final project, and I may add some more later. These images were all designed to focus on the transmission and reflection of light, with a low ISO for high quality, and long exposures to catch as much detail as I could.
For the Country half, I went to Pendelton, South Carolina, where I visited the historic areas and went off the beaten path to a few other areas, including an old train yard that was falling apart and covered in rust. It was my favorite place to take pictures, but I started to run out of time as the sun was setting and the last few images got too rushed. In the end, I took over 200 images from Pendelton, and chose 5 for my final, although I will post more later that really loved but didn't make it into the project. These images mainly focused on the textures and wear/aging of the objects and locations.
I did do Photoshop editing to these images as well, to try to match the aesthetic Eastman uses, or something similar at least. For his Urban Luminosity, he would saturate colors, clean up the dirt/debris (but not completely), and present a clean and vibrant image with patterns and colors boarding on the edge of abstract. I cleaned up the majority of my City shots where I removed distracting dirt/debris, while enhancing colors. For Eastman's Vanishing America images, he would often darken and enhance the sky, desaturating it while increasing the contrast and details. Other than working with the sky, I would apply a slight desaturation (using an adjusted "Black and White" adjustment layer at low opacity) and bringing details back into the highlights of the image. There is a huge advantage to working in 16bit with camera raw, which allows for HDR images and really pulling in the details lost in shadows and highlights. While none of these are actually HDR in my final, I did bracket my images which will allow me to get HDR out of them, and I did work with HDR on a few that didn't get into the final. I will be presenting more of these later.
Enjoy!
For the City side of my project, I took pictures around Atlanta, including the beautiful Hyatt Regency hotel, and outside The Loft. In all, I took about 160 images of this set, but for the final project, I had to choose 5. I already posted several favorites that didn't make it into the final project, and I may add some more later. These images were all designed to focus on the transmission and reflection of light, with a low ISO for high quality, and long exposures to catch as much detail as I could.
For the Country half, I went to Pendelton, South Carolina, where I visited the historic areas and went off the beaten path to a few other areas, including an old train yard that was falling apart and covered in rust. It was my favorite place to take pictures, but I started to run out of time as the sun was setting and the last few images got too rushed. In the end, I took over 200 images from Pendelton, and chose 5 for my final, although I will post more later that really loved but didn't make it into the project. These images mainly focused on the textures and wear/aging of the objects and locations.
I did do Photoshop editing to these images as well, to try to match the aesthetic Eastman uses, or something similar at least. For his Urban Luminosity, he would saturate colors, clean up the dirt/debris (but not completely), and present a clean and vibrant image with patterns and colors boarding on the edge of abstract. I cleaned up the majority of my City shots where I removed distracting dirt/debris, while enhancing colors. For Eastman's Vanishing America images, he would often darken and enhance the sky, desaturating it while increasing the contrast and details. Other than working with the sky, I would apply a slight desaturation (using an adjusted "Black and White" adjustment layer at low opacity) and bringing details back into the highlights of the image. There is a huge advantage to working in 16bit with camera raw, which allows for HDR images and really pulling in the details lost in shadows and highlights. While none of these are actually HDR in my final, I did bracket my images which will allow me to get HDR out of them, and I did work with HDR on a few that didn't get into the final. I will be presenting more of these later.
Enjoy!
Wednesday, May 1, 2013
Mushroom Madness!
Hey everyone,
Big news today! I applied to be a student volunteer at SIGGRAPH 2013, and they accepted me! Not only did they accept me, but they are going to cover my housing! This is great news, as this is a perfect opportunity for networking with professionals from all the major and influential companies in animation and visual effects. The conference will be this July, and will last about a week, in Anaheim, California.
In other news...
Today I have a new project for you, and this one moves... sort of. It animates at least. The entire project was about using Autodesk Maya to render out Primary and Secondary passes, and then composite and animation them, post-production style, in Nuke. Sounds like a bunch of fancy words I'm sure. In short I am telling my 3D software to render out my scene in pieces, and then I put them back together and make changes to them in the composting software.
So this exercise involved taking existing models of mushrooms and applying up to 3 textures to them, and then adding my own background. I decided to use an existing background I made before for a different class, and manipulated it for the scene. I then rendered it in passes, brought it into Nuke, and make the colors change. I also added the camera move and the depth of field as well in post as well.
While this is a "finished" project, it is not actually finished. I will be reworking this to fix a bug or two and to enhance some of the effects. Until then...
Enjoy!
Big news today! I applied to be a student volunteer at SIGGRAPH 2013, and they accepted me! Not only did they accept me, but they are going to cover my housing! This is great news, as this is a perfect opportunity for networking with professionals from all the major and influential companies in animation and visual effects. The conference will be this July, and will last about a week, in Anaheim, California.
In other news...
Today I have a new project for you, and this one moves... sort of. It animates at least. The entire project was about using Autodesk Maya to render out Primary and Secondary passes, and then composite and animation them, post-production style, in Nuke. Sounds like a bunch of fancy words I'm sure. In short I am telling my 3D software to render out my scene in pieces, and then I put them back together and make changes to them in the composting software.
So this exercise involved taking existing models of mushrooms and applying up to 3 textures to them, and then adding my own background. I decided to use an existing background I made before for a different class, and manipulated it for the scene. I then rendered it in passes, brought it into Nuke, and make the colors change. I also added the camera move and the depth of field as well in post as well.
While this is a "finished" project, it is not actually finished. I will be reworking this to fix a bug or two and to enhance some of the effects. Until then...
Enjoy!
Sunday, April 28, 2013
Rainy Days?
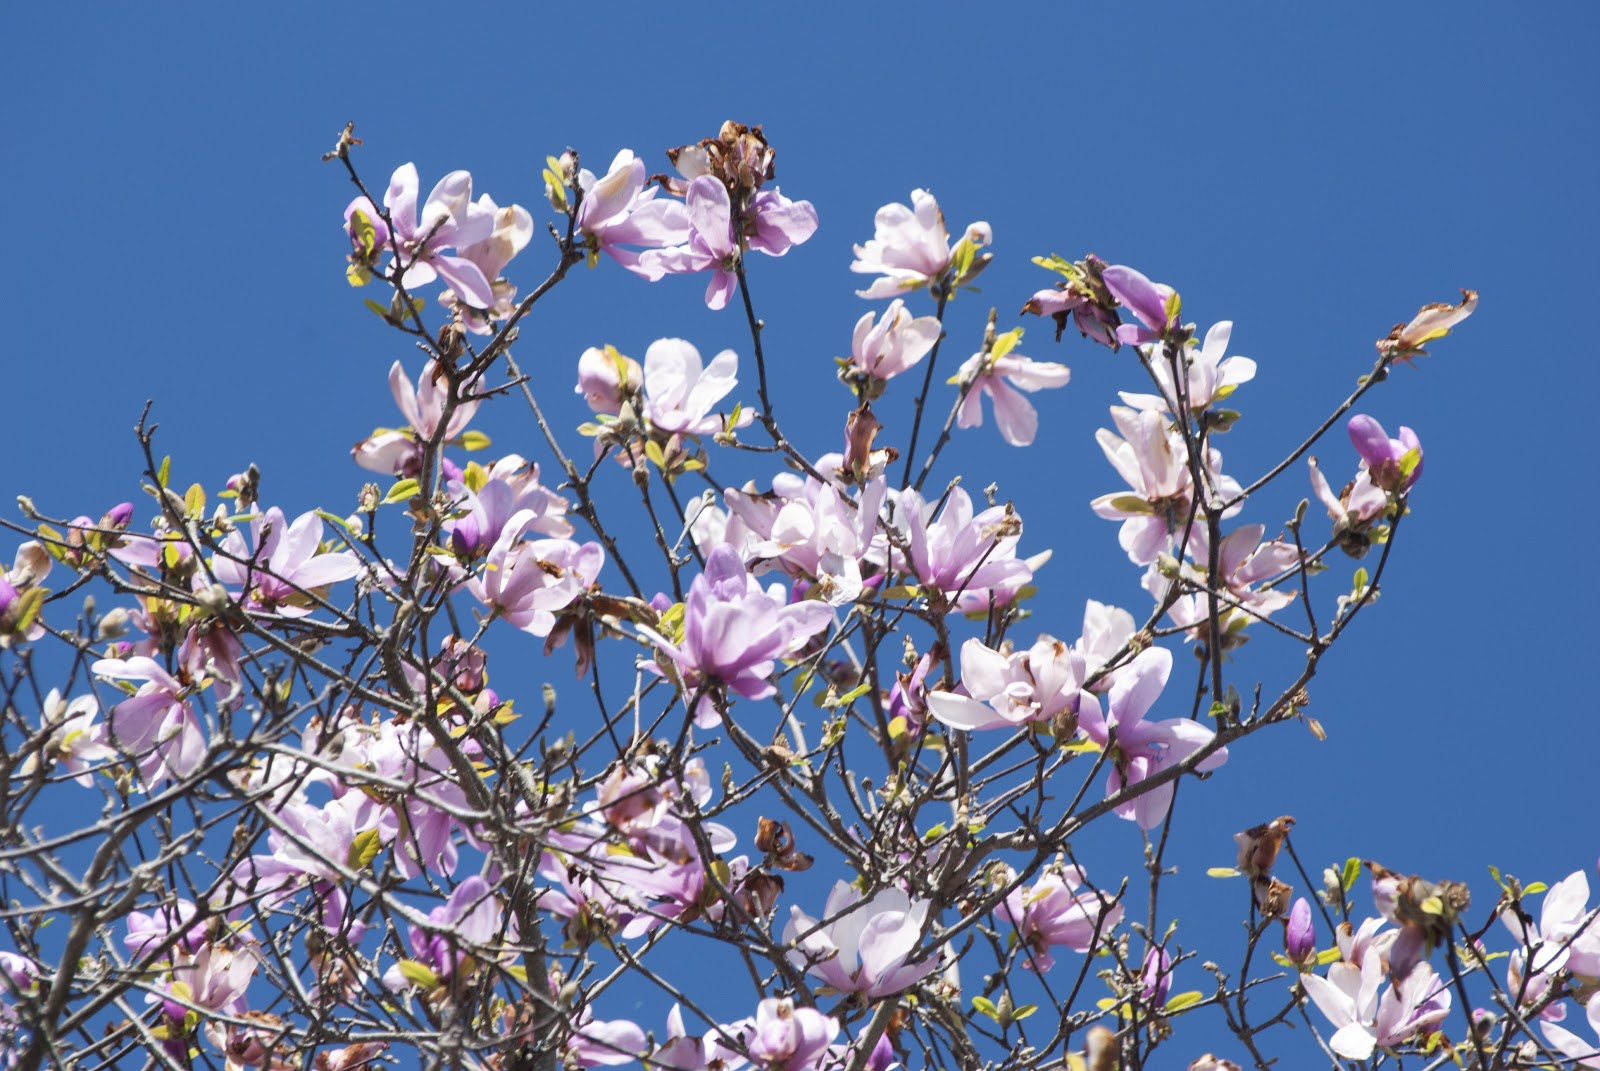
I know, it isn't exactly the first of spring or anything, and in all honesty what I'm going to post today was taken a week ago, but I felt that to contrast today's dreary cloudy weather, I should post some bright and happy ones.
So these are pictures taken either last weekend at the Dogwood festival in Atlanta, or the weekend before in the garden at my apartment complex. There were LOTS more pictures that I took, but I figured I'd just post a handful. Got to save something for those rainy days... the other rainy days.
Tuesday, April 23, 2013
Macro Lens
OK, so I got another photograph for you today!
Recently, I was assigned an assignment in my photography class focusing on Aperture. For those who don't know what that is, it controls the Depth of Field, or how much is in or out of focus. So I took a TON of pictures, because I really like to take shots with a relatively tight Depth of Field. I'm pretty sure for my 10 image assignment I took about 450 pictures. Because I was feeling adventurous, I decided to get out my Macro lens. I got this for Christmas a little while ago, and I've been meaning to try it out. So finally I got the chance! In short, a Macro lens lets you take pictures of tiny objects really close up, and still be able to focus on them. It also takes the Depth of Field and drops it down to an extremely finite amount.
So here is one of the pictures I took for class. The images is of a teeny tiny ant hill between the bricks in my small patio. It was so small, I almost didn't see it. I took many more pictures, but this one had the strongest Depth of Field. My next project is on composition, so wish my luck.
Enjoy!
Recently, I was assigned an assignment in my photography class focusing on Aperture. For those who don't know what that is, it controls the Depth of Field, or how much is in or out of focus. So I took a TON of pictures, because I really like to take shots with a relatively tight Depth of Field. I'm pretty sure for my 10 image assignment I took about 450 pictures. Because I was feeling adventurous, I decided to get out my Macro lens. I got this for Christmas a little while ago, and I've been meaning to try it out. So finally I got the chance! In short, a Macro lens lets you take pictures of tiny objects really close up, and still be able to focus on them. It also takes the Depth of Field and drops it down to an extremely finite amount.
So here is one of the pictures I took for class. The images is of a teeny tiny ant hill between the bricks in my small patio. It was so small, I almost didn't see it. I took many more pictures, but this one had the strongest Depth of Field. My next project is on composition, so wish my luck.
Enjoy!
Sunday, April 21, 2013
Brenizer Method
Day 3 and I barely make it in time! (4 minutes to spare :P)
So today I want to share a picture I took. Yes, photography! I do photography on the side in my spare time, as a hobby, but one which I am intimately familiar with. Not only was my grandfather a, award-winning photographer, and my dad was a hobbyist, but I worked at National Geographic for several years as an imaging specialist editing and archiving and restoring images. I have worked with many famous photographers (such as Jodi Cobb), and done work on many famous images, and for many clients (famous and yet-to-be-famous alike). So I have "some" experience with photographs (mainly digital photo-editing), but not so much with making them myself. I did get a nice DSLR (Nikon D3000) to play with and learn more, and have been actively learning photography, partly to learn more about light and composition, and partly because I think it is cool, and partly cause it can make money on the side. I love taking pictures, and plan to continue to pursue this hobby in my spare time.
So for now, I have an image I would like to share of my neighbor's cat, Chester. This image is actually a "photomerge" (a type of collage) of 28 images, designed to capture a specific look with the Depth of Field using a technique called the Brenizer Method. So for now, enjoy this image of Chester giving me a weird look.
So today I want to share a picture I took. Yes, photography! I do photography on the side in my spare time, as a hobby, but one which I am intimately familiar with. Not only was my grandfather a, award-winning photographer, and my dad was a hobbyist, but I worked at National Geographic for several years as an imaging specialist editing and archiving and restoring images. I have worked with many famous photographers (such as Jodi Cobb), and done work on many famous images, and for many clients (famous and yet-to-be-famous alike). So I have "some" experience with photographs (mainly digital photo-editing), but not so much with making them myself. I did get a nice DSLR (Nikon D3000) to play with and learn more, and have been actively learning photography, partly to learn more about light and composition, and partly because I think it is cool, and partly cause it can make money on the side. I love taking pictures, and plan to continue to pursue this hobby in my spare time.
So for now, I have an image I would like to share of my neighbor's cat, Chester. This image is actually a "photomerge" (a type of collage) of 28 images, designed to capture a specific look with the Depth of Field using a technique called the Brenizer Method. So for now, enjoy this image of Chester giving me a weird look.
Subscribe to:
Posts (Atom)